©Brück
Sensitive robotic ultrasonic testing
CHALLENGE #1
Is it possible to sensitise an ultrasonic head with a robot?
CHALLENGE #2
How does the co-medium impact on sensitivity?
CHALLENGE #3
To what extent are unknown geometries with the header detectable?
About the project
Project objectives
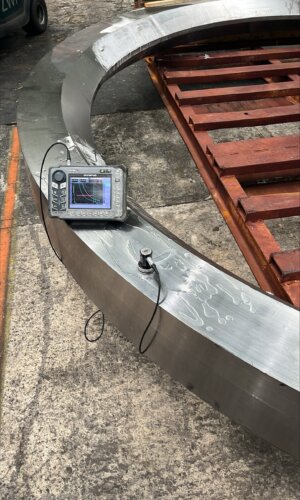
This project examined whether a robot could carry out tasks that have been carried out so far – more precisely: ultrasonic testing of large forging components. The aim was to determine whether a robot could lead the ultrasonic head with a reliable excitation force.
Three important issues should be addressed in order to evaluate the technical feasibility and potential benefits of a robotic-based testing process.
Can the robot be sensitive to the ultrasonic head?
The headform shall be moved with a constant excitation force along a specified path in order to obtain good measurement results and to allow reproducibility of the test results. To this end, the robot must be controlled by force to ensure optimal coupling between the test head and the forging component.
What influence does the so-called ‘coupling medium’ have on the system’s sensitivity?
As the coupling agent plays a decisive role in signal transmission in the ultrasonic test process, the extent to which the co-medium influences the sensitive driving of the ultrasonic head by the robot is examined. The aim is to demonstrate the capability of the robot system in the case of gliding so that a reproducible result (constant contact force, constant speed of travel) can be ensured.
How flexible can the robot react to different forms of forging?
As forging components can vary in their shape, it is tested how well the robot’s railway design and control can be adapted to different workpiece geometries. For this purpose, a combination of CAD-based railway planning (offline railway planning) and calibration on the real workpiece is used to test the feasibility of an automated geometry adjustment.
It will also examine the further benefits of digitising the entire audit process – for example for better documentation or subsequent evaluations.
©Brück
©Brück

©Brück
DESCRIPTION OF COMPANY

Fabian Bonner
Team leader, Quality Assurance Brück GmbH
Baseline
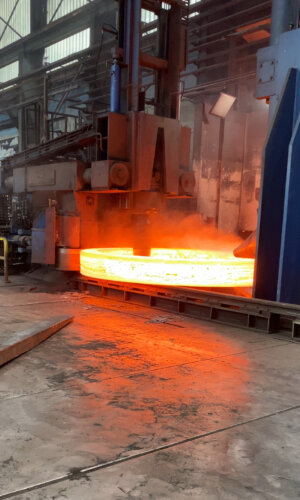
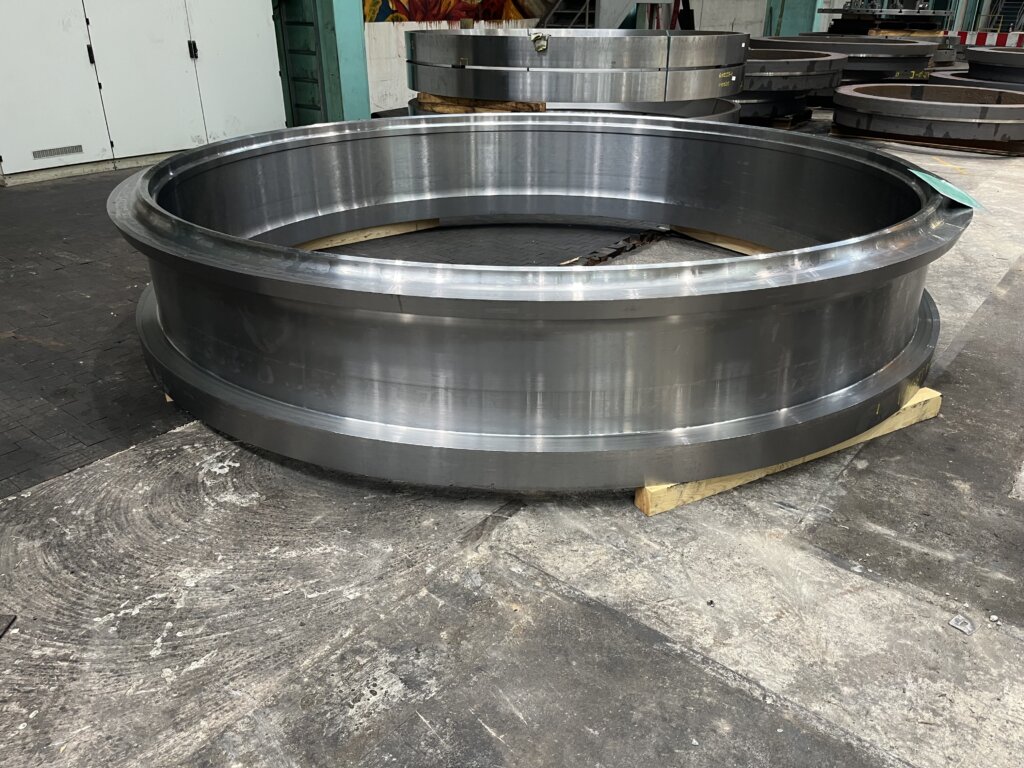
An existing audit process was examined with Brück GmbH in Ensheim. These are very large forging components with a diameter of up to 6.5 metres. So far, employees have had to hand the ultrasonic head, which is a physical and unergonomic work. Due to the size of the forging component, the manual test of the test head must be repeated again, so an increased time is required during the test process.
With stronger demands on the market, the storage and documentation of measurement data faces new challenges. The audit results have so far not been consistently recorded digitally.
It should therefore be examined whether the process can be automated and digitised by a robot.
©Brück
Approach
First, the current manual process was carefully examined to identify the specificities and individual challenges. On this basis, an automation concept was then developed, describing how the robot can take over the task.
The focus was on ensuring that the ultrasonic test head was managed accurately and effectively and that the test data were recorded and documented digitally.
A central tool was a first illustrative design of the test movement based on design data (CAD). As each component can be slightly manufactured differently due to natural manufacturing tolerances, a calibration was also performed on the actual workpiece. This made it possible to adapt the railway planning to the actual geometry and to increase process accuracy.
One of the main points of the ultrasonic test was that the robot works with a so-called ‘power-controlled control’. This means that it runs the header at uniform pressure. This also resulted in homogeneous and consistent measurement results over larger areas, thus increasing the reproducibility of the test results.
The application of the coupon was also examined in more detail: How thick can it be? How even should it be distributed? It was important to recognise the impact of the co-coupling thickness on force regulation in order to develop an optimal application strategy.
In a final test phase, the newly automated test process was tested with an exemplary geometry and process parameters, with the result that the robot solution is at least equal to the hand test process. The solutions are comparable, especially in the marginal conditions of full repeatability.
Result of the project
The project has shown: Automation of the ultrasonic testing process with a finely sensitive robot is technically possible – with many benefits.
The measurements remain reliable and uniform as the robot leads the test head at constant pressure. The process became less onerous for staff, as manual work is reduced in terms of physical effort. The solution also allows all test data to be digitally collected and stored for each component. This improves comprehensibility and optimises quality assurance.
It is also economically worthwhile, as automation reduces testing times and thus saves costs. Overall, the project provides a solid basis for the large-scale use of this automated audit process in the industry in the future.
Main lessons learned from the project
This says Brück GmbH about cooperation with EDIH Saarland and Mittelstand-Digital Zentrum Saarbrücken
The implementation of the project was straightforward and the results were revealing.
The result of the project is an incentive for us to follow this audit methodology further.
We are very satisfied with the follow-up and communication.
The project allowed us to have a deeper understanding of the application fields of robots.
In cooperation with:
